


Photography Tips for Your Everest Helicopter Tour
Taking pictures is a common thing for all travellers when you want to have a memory of your once-in-a-lifetime experience on Everest helicopter tour.

-
 Adventure Master Trek
-
15 September, 2025
-
10 mins read
-
1295 Views
-
0 Comments
Every photographer wish to click gorgeous photos on the breathtaking vistas of snow-capped mountains, deep valleys within the trails and the most stunning and highest peak of the world i.e. Mt. Everest. However, it might be difficult for them to get good pictures at high altitudes while flying in a moving helicopter because of the changeable weather and lack of visibility.
When you take photos, the changing light, fast action and window glare can all affect your photos and. Even a little things can make a difference whether you’re using a DSLR or a smartphone. Here are some simple yet effective Everest helicopter photography ideas to help you capture the greatest images while in flight. We will take care of everything, from choosing the ideal seat to utilizing the ideal settings, so you can focus on having fun and making incredible memories from the skies.
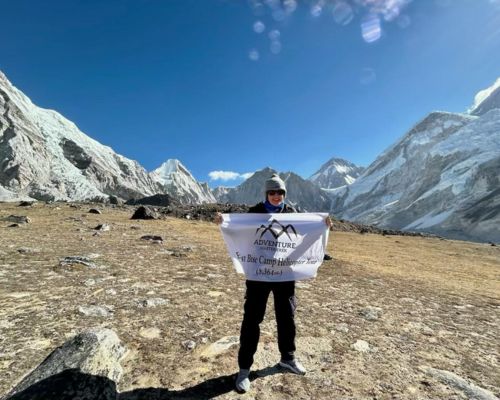
Planning your trip? Read our full guide to the EBC Helicopter Tour for the complete experience.
Why Photography Matters on an Everest Helicopter Tour
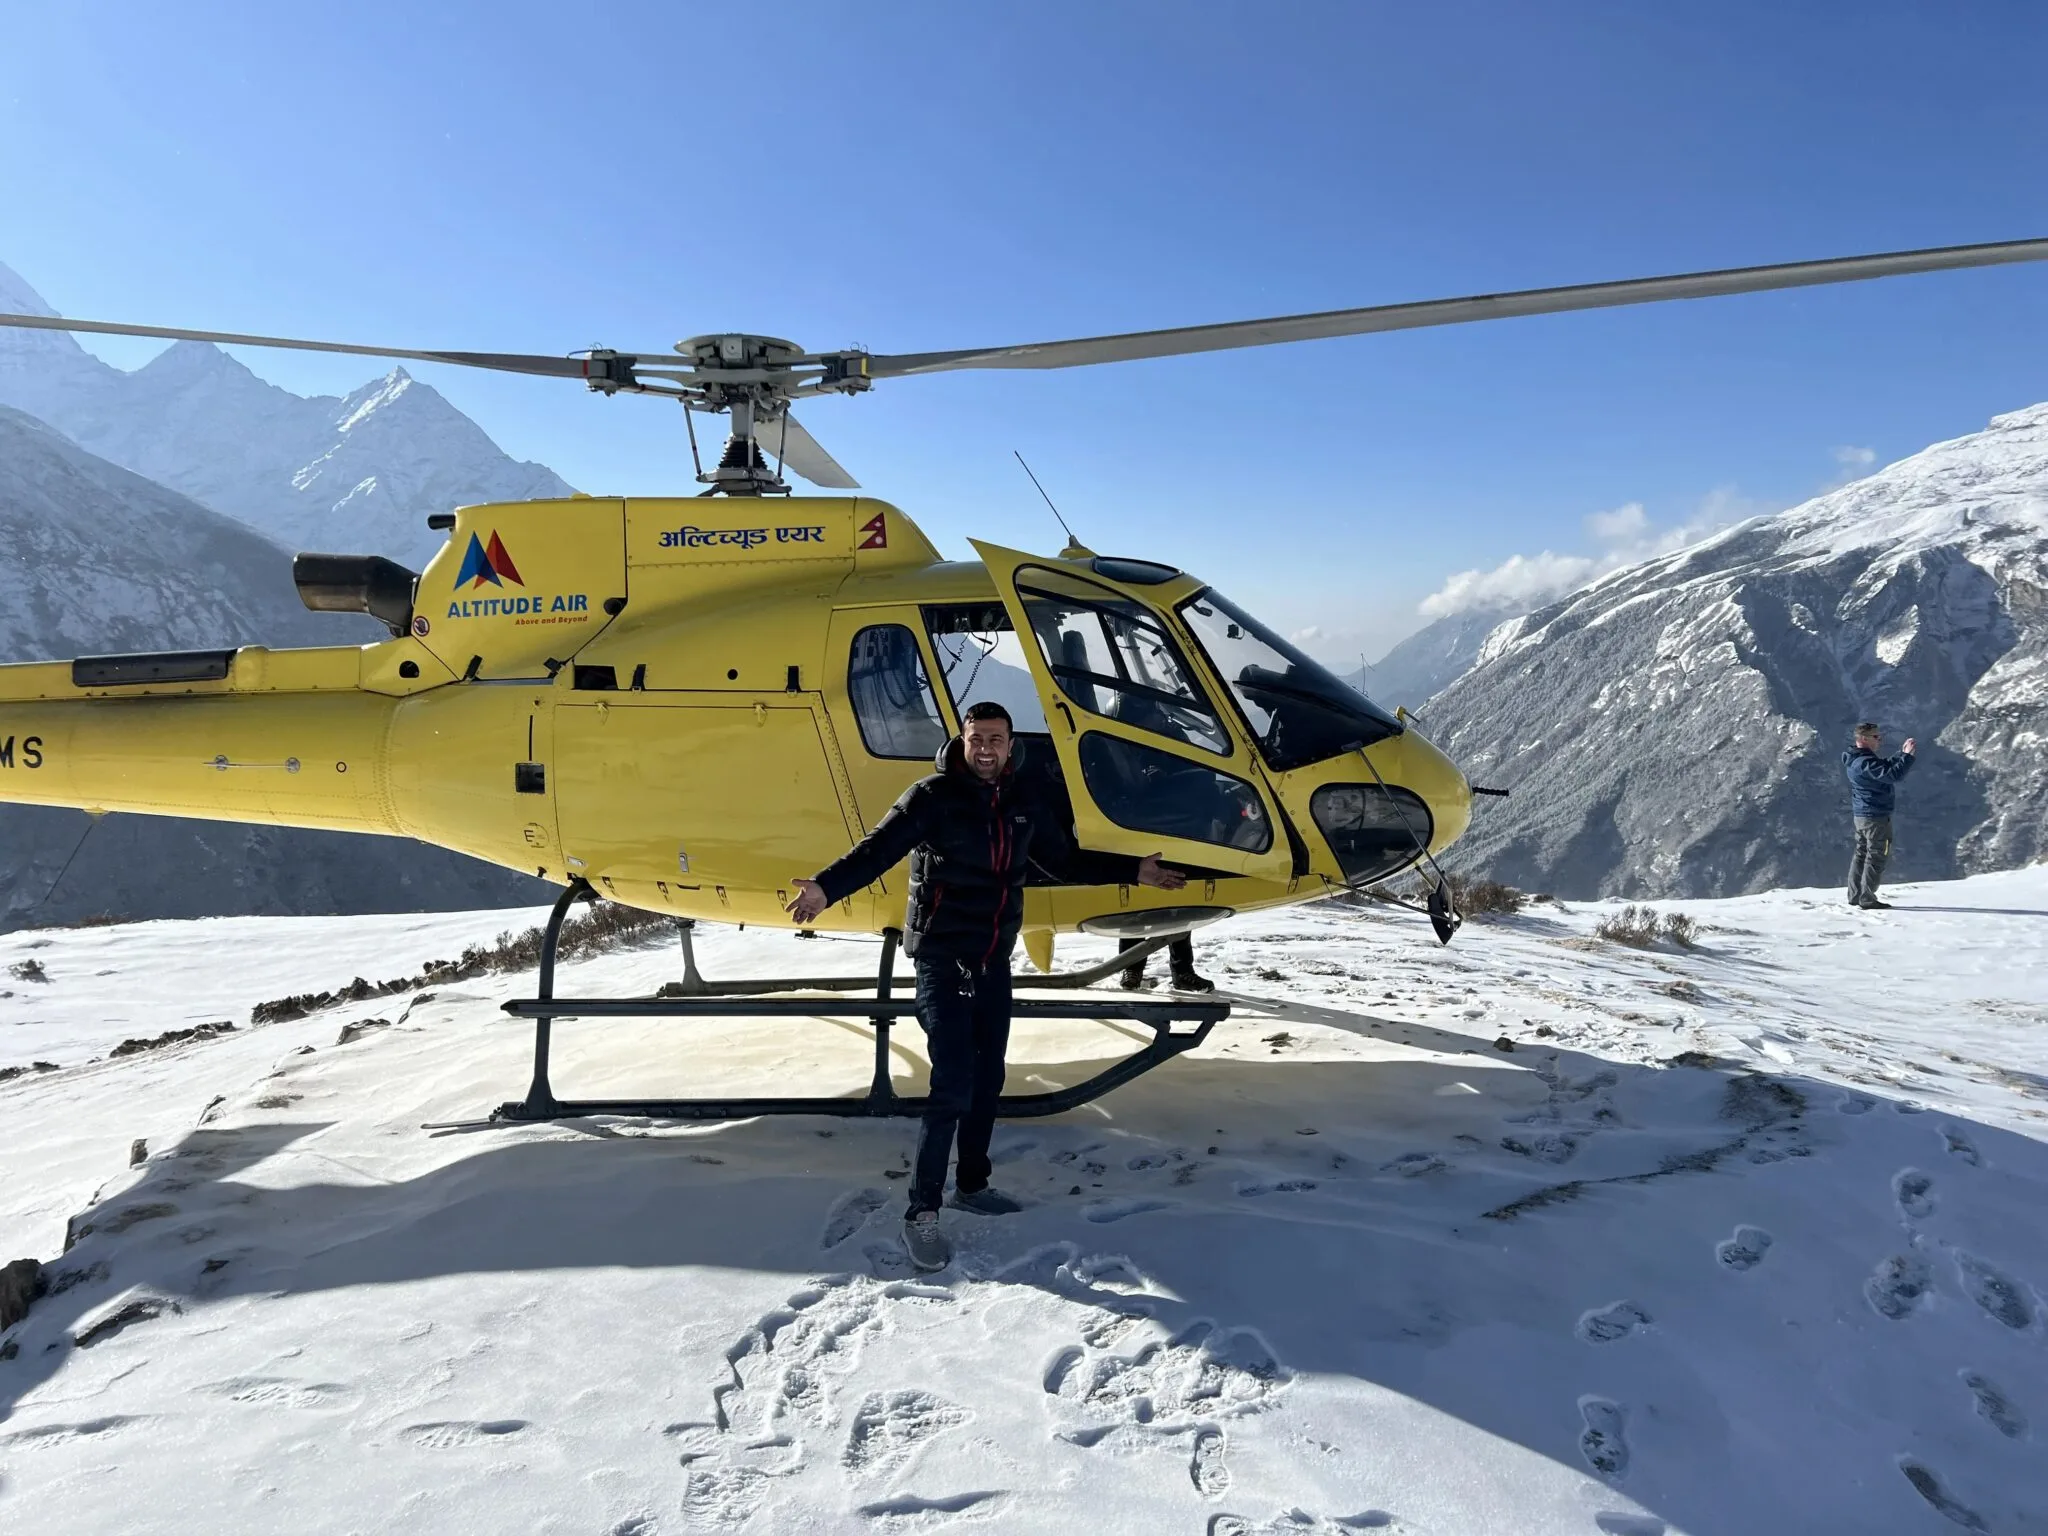
You will want to take pictures of the breathtaking sights that an Everest helicopter trip affords. You have the best opportunity of taking amazing pictures if you have the helicopter window seat that Everest visitors are looking for.
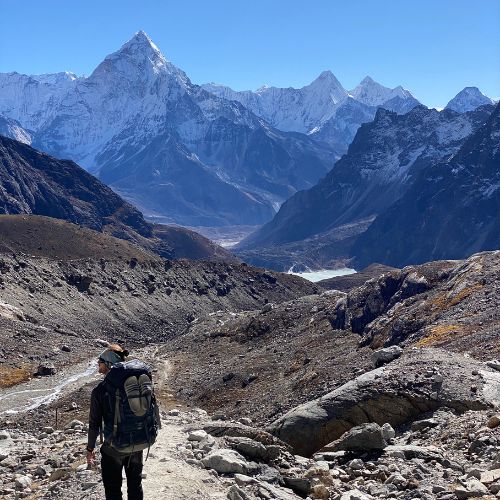
It might be very difficult to get good photographs at high altitude in a moving helicopter which cannot give you perfect photos you want especially for photographers. If you have proper advice and follow those advices you can click clear and memorable pictures of this amazing adventure. You can also explore ground-level photo opportunities on the classic Everest Base Camp Trek.
Capturing once-in-a-lifetime views
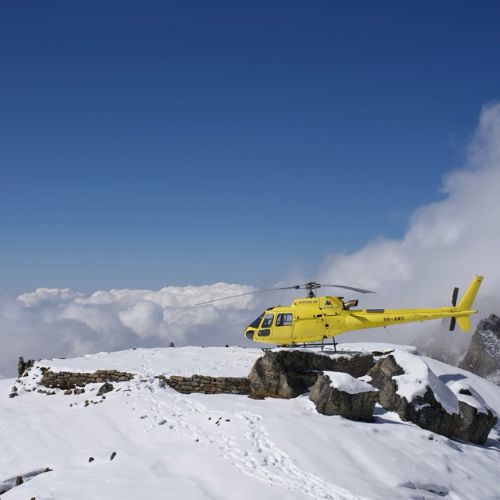
Travelling in Everest region is itself a unique and amazing experience for you as you will be flying near Mount Everest. This you will offer you with the panoramic vistas of huge mountain ranges and majestic summits which are simply stunning.
You can simply save this experience by taking pictures of your tour and make it a lifetime memories. As you can also share the breathtaking Himalayan scenery with friends and family who were unable to visit by taking quality photos.
Best Camera Gear to Bring
If you want to have stunning images and videos of your tour to Everest, you must select the appropriate camera equipment and follow proper advice which is given to you. As you may not have enough space and lightning changes rapidly, you should carry portable cameras and equipments which are simple to operate and capable of capturing wide beautiful images.
You will not miss any of the second as the camera setups are fast-paced, a straightforward, dependable.
Camera Types and Lenses
The best camera for an Everest helicopter tour strikes a compromise between weight, quality, and use. The best lens for shooting wide mountain views through the helicopter windows is a wide-angle lens (14–35mm range). If you take pictures in wide angles, you will be able to capture entire environment in your picture. You can also use zoom lenses can to get the close up pictures.
You must select fast lenses (low f-stop, such as f/2.8–f/4) for improved performance in changing light.
DSLRs vs. mirrorless vs. smartphones
| Feature | DSLR | Mirrorless Camera | Smartphone |
| Photo Quality | Excellent | Excellent | Good (great on newer phones) |
| Size & Weight | Big and heavy | Small and light | Very light and easy to carry |
| Lens Options | Many choices | Many choices | Built-in only |
| Easy to Use in Helicopter | Hard to handle in small space | Easy to use in small space | Very easy |
| Manual Settings | Full control | Full control | Some control (depends on phone) |
| Low Light Performance | Very good | Very good | Okay to good |
| Best For | Professional users | Travelers who want quality photos | Casual use and quick sharing |
Which is the Best camera for the Everest tour: lightweight & wide-angle?
The ideal camera to use during the helicopter ride to Everest is probably a mirrorless camera with a lightweight, wide-angle lens, which is about 14–35mm. Photographer can catch vivid pictures of wide mountain views of with the help of wide-angle lenses on mirrorless cameras. They are likely small and manageable in the cramped helicopter space.
A modern smartphone with a decent wide-angle camera may also create amazing pictures if you want to travel light or don’t want to bring along extra equipment. Just be sure it’s well charged and keep an eye out for window glare.
Accessories You Shouldn’t Forget
Having the appropriate gear is crucial when photographing on an Everest helicopter tour. Here are a few things you must bring:
- Extra Batteries: You should always bring extra batteries and keep them warm in your pockets because cold weather rapidly depletes battery life.
- Lens Cloth: You can clean your lens using a microfiber cloth close at hand. As you are flying at high altitudes, helicopter windows can become dusty or smudged.
- ND filters: These improve the clarity of your photos by controlling strong sunshine and glare.
- Camera Straps: To prevent dropping your camera in the small helicopter space, secure it.
Backup Options for Casual Shooters
Your smartphone can serve as a fantastic backup for taking beautiful flying photos if you’re going light during your Everest tour. You can take stunning pictures by using the wide-angle mode, cleaning the lens and avoiding the reflections from the helicopter windows, which cause disturbance while taking photos..
You can also use action cameras like GoPro because they’re compact, simple to use, and ideal for taking fast pictures or films. You may not get proper image quality and zoom capacity, but you can use the fixed lenses.
Choosing the Right Seat for the Best Shots
The quality of your Everest helicopter trip images is greatly affected by the seat you choose. The ideal location allows you to avoid window glare, reflections, and other passengers that might block your shot while still providing you with expansive, clean views of the mountain. Understanding the benefits and drawbacks of various seats enables you to plan ahead and capture the greatest images throughout this incredible adventure.
Helicopter Window Seat Everest: Pros & Cons
You have the best chance of taking breathtaking pictures when you sit in the helicopter window seat that Everest visitors adore. You can get the clear and up-close views of the mountains bt sometimes your images may not come clear because of smudges and reflections on the glass.
Your pictures also depend on the side of the helicopter you are sitting. You can get better views of Mt. Everest from your left side, and you can get better views of other stunning peaks from the right side. To choose the ideal angle for your pictures, ask your guide about the flight path.
For Group Sharing and Private Tours
As the seats are assigned by your operator during a group trip, you may not get to choose the seat you will be seated on. So, you can let your tour operator know in advance where you would like to sit to get the bestest views of Himalayas because they might help you in that seat arrangement. If you want to choose your seats more freely, pick private trips as it will help you to take in the best views of the mountains, which is the ideal location for pictures.
See updated Everest Helicopter Tour Prices for a Group of 3 from USA to plan your trip budget.
Best Time of Day for Scenic Flight Photography
The quality of your images is greatly influenced by the time of day you fly. Aim for warm, soft light in the early morning or late afternoon for excellent scenic flight photography. This makes your pictures genuinely remarkable by highlighting the colours and details of Everest and the neighbouring mountains.
Morning vs. Afternoon Flights
Photographs of Everest are sharp and clear because to the soft and clear morning light. Late afternoon gives warm, golden tones, although afternoon light can be harsher with more radiation and shadows. Getting better photos and avoiding glare can be done by selecting the appropriate seat and angle.
Seasonal Considerations
Some months are the best of times to see clear views of Everest. The sky are typically open with excellent visibility in the spring (March to May) and fall (September to November). While winter can be extremely cold and occasionally foggy, summertime clouds and rain can cloud the view. The best images from your helicopter tour can be obtained by choosing the appropriate season.
Some Final Tips for taking the photographs of the Everest Helicopter Tour
It takes a little preparation and the right approach to shoot breathtaking pictures during your Everest helicopter tour. Use these easy methods to get the greatest pictures on your Everest helicopter tour. They can help you capture beautiful and vivid pictures of the mountains.
- You should use a wide-angle lens if you want to take in the breathtaking views of the mountains.
- You should always keep your camera near the helicopter window to prevent reflection in your photos.
- You can use a fast shutter speed to minimise motion blur when you are taking pictures from a scenic flight.
- Pack extra batteries as power of camera quickly runs out in cold conditions.
- The greatest views are from window seats on the left or right, so pick wisely.
- To take clearer pictures, clean your lens and window before you start shooting.
FAQs
1. What are easy Everest helicopter photo tips for you?
You should sit by the helicopter window seat Everest, and keep your lens close to the glass to avoid reflections for the perfect Everest photo. Use a fast shutter speed to get sharp photos.
2. What is the best camera for the Everest tour if you’re not a pro?
A lightweight mirrorless camera or a good smartphone with a wide-angle lens is the best camera for your Everest tour as it works great for capturing the views during your scenic flight photography.
3. How do I stop reflections when shooting through the helicopter window?
You can stop the reflection by gently pressing your camera against the window and turn off the flash to avoid reflection when shooting. Also, you should wearing darker clothes helps reduce glare on the glass, which makes your photos more vivid and clear.
4. When is the best time to take photos during the Everest helicopter tour?
The best time to take photos during the Everest helicopter tour is during early morning and late afternoon, as you can get the best and clearest photos of Mt. Everest. You will get the perfect light and suitable weather, which offers clear skies. It is perfect for beautiful photography.
5. Should I sit on the left or right side of the helicopter to take good photos of Everest?
You can be seated at the left side of the helicopter if you want to take good photos of Everest. But it can also depend on the route. You can freely ask your guide before boarding so you can pick the side with the best photo chances.
Packages for Trekking in Nepal
-
-
-
-
-
- (61)
$1400
Comments (0)
Write a comment- Why Photography Matters on an Everest Helicopter Tour
- Capturing once-in-a-lifetime views
- Best Camera Gear to Bring
- Camera Types and Lenses
- Which is the Best camera for the Everest tour: lightweight & wide-angle?
- Accessories You Shouldn’t Forget
- Backup Options for Casual Shooters
- Choosing the Right Seat for the Best Shots
- Helicopter Window Seat Everest: Pros & Cons
- For Group Sharing and Private Tours
- Best Time of Day for Scenic Flight Photography
- Morning vs. Afternoon Flights
- Seasonal Considerations
- Some Final Tips for taking the photographs of the Everest Helicopter Tour
- FAQs
- 1. What are easy Everest helicopter photo tips for you?
- 2. What is the best camera for the Everest tour if you’re not a pro?
- 3. How do I stop reflections when shooting through the helicopter window?
- 4. When is the best time to take photos during the Everest helicopter tour?
- 5. Should I sit on the left or right side of the helicopter to take good photos of Everest?
Read the latest Blogs & Insights
Explore our collection of articles and insights to gain in-depth travel knowledge, expert advice, and stay updated on the latest trends and tips.


No comments yet.